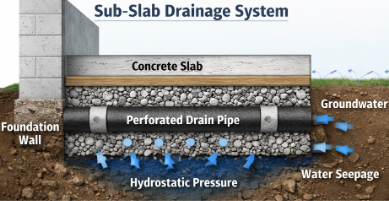
Groundwater can pose a significant risk to buildings with “sub-grade” or below-ground structures, such as basements or garages. When water levels rise because of rainfall or flooding, it can flow into the gaps between rock and soil, creating hydrostatic pressure on foundational walls that can lead to cracking, damage, and water infiltration.
Slab drainage is an engineering solution to prevent this issue from occurring. Systems divert water around foundations, allowing it to drain more efficiently, thereby reducing structural and interior damage.
Understanding Under Slab Drainage
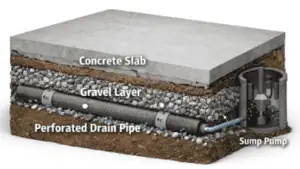
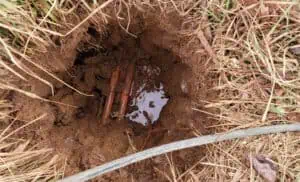
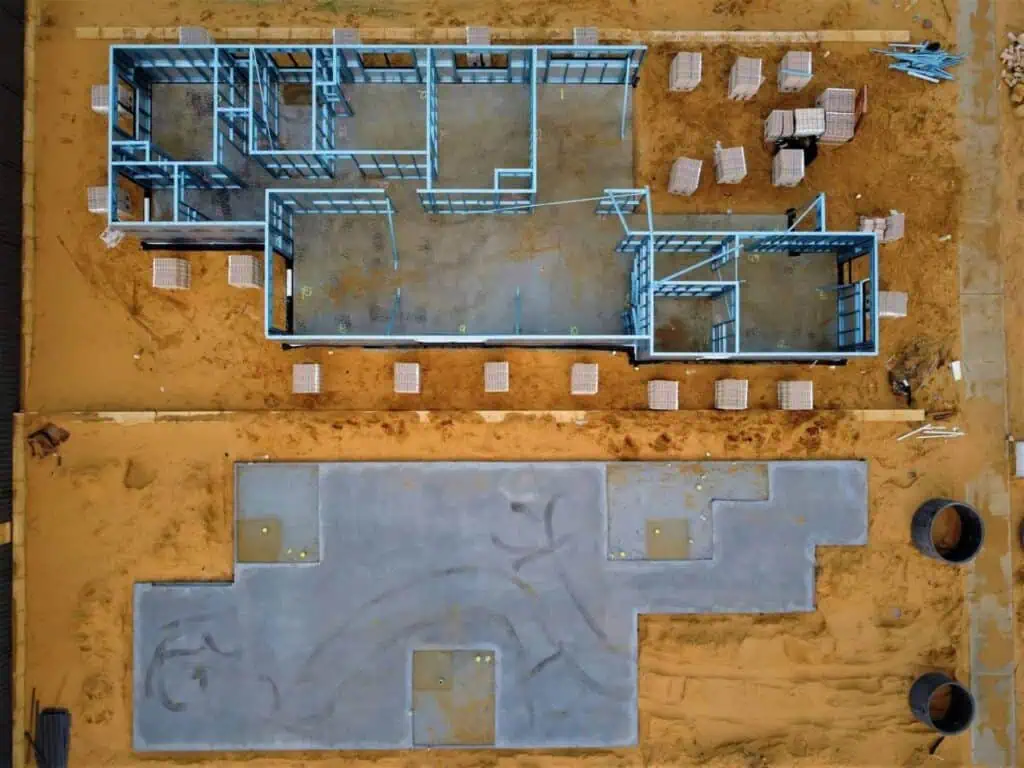
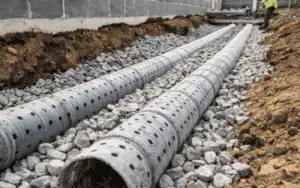
Under-slab drainage refers to pipe systems and gravel installed below foundation concrete to remove soil and water from the subterranean walls of a building. In most systems, drainage components sit directly beneath the slab, layered between compacted soil, crushed stone, and the foundation base to manage groundwater before pressure can build.
Sub-slab drainage has three objectives:
- To prevent hydrostatic pressure from damaging the foundation
- Controlling moisture levels in basements, sub-basements, garages, and other low-level building areas from moisture, mold, and mildew
- Stopping water from seeping from the foundations’ periphery into the floors, walls and slab
Engineers construct sub-slab drainage using a network of perforated pipes, crushed stone, and sometimes a sump pump. When groundwater or rainwater seeps into the foundation, it enters the perforated pipes without pushing up against the foundation walls or slab. The run-off trickles into the sump pump or drain for extraction and elimination, keeping the building dry.
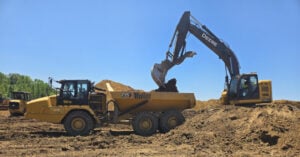
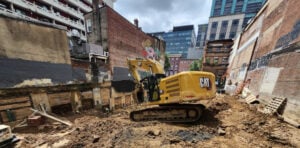
Interestingly, more and more building owners are installing sub-slab drainage in existing buildings. Engineers or contractors install drainage pipes by trenching under the slab using horizontal directional drilling (HDD) to accomplish this. This less invasive excavation technique allows for the quick and safe installation of sub-slab drainage..
The Benefits Of Effective Sub-Slab Drainage
Implementing practical sub-slab drainage may sound challenging, but the benefits for your building can be substantial.
Sub-slab drainage can:
- Control moisture levels in your property’s subterranean areas, reducing the risk of interior damage
- Stop foundations from cracking under the pressure of the surrounding water
- Boost indoor air quality by preventing mold spores from entering the environment
- Extend the life of your foundation
- Help maintain the structural integrity of your building’s foundation
- Reduce the risk of flooding
Steps For Designing Sub-Slab Drainage
Sub-slab drainage design varies according to the building’s characteristics and owners’ requirements. Therefore, each system can be tailor-made to the target building.
Step 1: Review Groundwater Conditions
The first step of designing sub-slab drainage involves reviewing the subsurface groundwater conditions to determine whether installation is necessary. Engineers collect soil permeability, soil strata, and water table height data using monitoring wells and borings.
Step 2: Map Surface Drainage Features
The next step is to map surface drainage features. Surveying discharge locations around the building’s exterior can identify run-off areas, existing drains, and sloped banks that might increase flooding risk. It provides engineers with an understanding of the property’s existing groundwater mitigation measures and how they can complement them.
Step 3: Conduct A Thorough Seepage Analysis
Step three involves conducting a seepage analysis using calculations and computer models to estimate drainage flows through sub-soil. This process enables professionals to identify the optimal spacing and location of sub-surface perforated piping to reduce water table height below the slab.
Step 4: Determine Pipe And Stone Specifications
Engineers may need to adjust the materials they install to reflect soil conditions, estimated rainfall, and installation depth. Pipes placed lower down will need to be stronger to handle the weight of the material above them.
Soil permeability can vary substantially, up to twelve orders of magnitude (a trillion times). Therefore, higher permeability sites must place pipes capable of higher flow rates further apart.
Step 5: Design The Discharge System
The next step is to design the discharge system that will convey water away from the building’s foundations. If choosing a pump, the size will depend on the desired discharge rate. Areas with more rainfall, irrigation run-off, or groundwater will require more powerful pumps.
Conventional discharge systems work passively to remove water and do not consume any additional energy but can’t react to higher-than-normal groundwater levels. Therefore, consider whether they will be sufficient for your purposes. Weak groundwater control in areas with poor drainage could lead to structural damage.
Step 6: Prepare Construction Drawings And Specifications
The final step is to prepare various construction drawings for sub-slab drainage systems. Ensure you clearly label pump placement, discharge system connection, and where you will fit pipes.
Professional Sub-Slab Drainage Solutions
If you require assistance with sub-slab drainage installation on new or existing buildings, Muller can help. Our experienced wet utility experts can procure new under-slab systems that keep your property dry and your foundations crack-free.
Contact us today to discuss your project requirements and next steps.